
Landscape Lighting Guide
Let your landscape lighting illuminate every occasion and invite people into your home by highlighting walkways, architectural elements, gathering spaces, water features and more.
Troubleshooting a Landscape Lighting System
When a landscape lighting system goes down, it's like the outdoors have gone dark. For your clients, every time they look outside at night, they're missing a beautiful part of their scenery. So, what can you do when the landscape lighting system goes on the fritz? We have a few tips to help.

Set yourself up for success
Troubleshooting is much easier when you have a documented plan detailing the landscape lighting placement and where the wires run to the transformer. Keeping a file of plans for each property will save you time and effort if something needs attention in the future or if you want to expand the lighting with a second phase of the project. This can take the form of a drone photo, hand drawings, or CAD landscape plans. Whatever it looks like, documentation is the first step to troubleshooting.
Ask the right questions.
When you get a call from a homeowner about a potential issue, asking the right questions is the key to unlocking the right solution. You know your clients and their system’s best, but here are few questions to get you started:
When did they first notice the issue?
Was there construction work done on the property recently?
Have you had any new landscaping performed recently like edging, new plants or mulching?
All of these questions could help point to the location of the problem and help identify which particular issue is occurring.

Perform a check
Once you’re on site, look for the obvious first. Is the entire system out, just certain lights? Is there any obvious visible damage to the fixtures? Make sure to inspect the cables and terminal blocks to ensure they are all in good condition.
Full System Check:
If the entire system is out, check the 120V power source—is there power to the outlet? If not, did the GFI switch or the breaker trip?
If the circuit breaker tripped, check the terminal block connectors to ensure the wires and wire constants are snug and separate.
For an amperage overload, you need a clamp-on ammeter and access to one side of the wire. Whether you are doing the low-voltage side or the high voltage side of the system, you need to isolate one of the wires to clamp the meter around.
For a short at the fixture, check the fixture connections are secure, disconnect and replace the wire connector.
Next, check control devices like photocells, digital timers and smart timers, do they need to be cleaned? Does a schedule need to be reset? Is there a backup battery that needs replaced?
**Reminder: Cap the photocell while testing the system and then remove and store the photocell cap once you’re done with the system maintenance.
Shop Photocells, Digital Timers, & Smart Timers

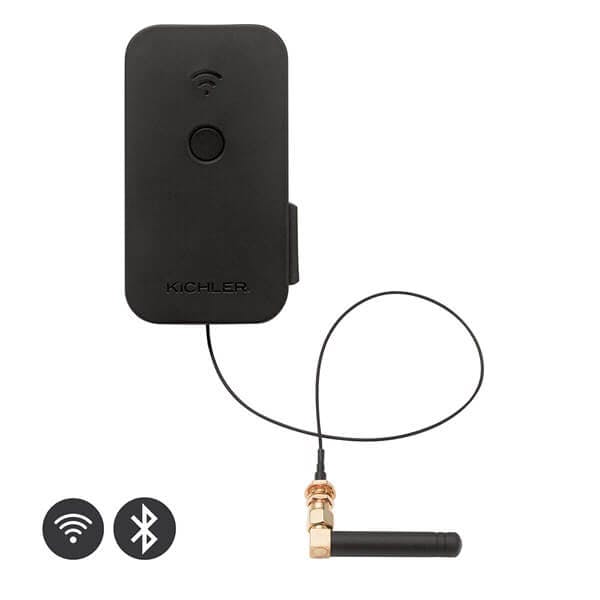
Smart Control Accessory
16085BK (Black Material (Not Painted))
2.5" W x 2.25" H x 4" LControllers$71.99*


Accessory Accessory
15557BK (Black Material (Not Painted))
2.75" W x 3" H x 3" L12V Landscape Accessories$34.99*


Accessory Accessory
15556WH (White)
2" W x 4.5" H x 2.75" L12V Landscape Accessories$51.99*


Accessory Accessory
15565BK (Black Material (Not Painted))
2" W x 3" H x 2" L12V Landscape Accessories$50.99*


Accessory Accessory
15534BK (Black Material (Not Painted))
1" W x 6" H x 120" L12V Landscape Accessories$97.99*
Partial System Check:
If lights are dim throughout the system or in a specific spot, double check that you aren’t experiencing voltage drop from an overloaded wire run with our calculator.
If you are experiencing a voltage drop, you can either increase the wire gauge or move the wire run to a higher voltage tap if that’s available. This could also be caused by a loose connection which can be fixed in one of two ways:
By removing the wire run from the transformer, reinserting the wire and tightening the terminal block.
By identifying the spots where wires connect right before the dim portion of the wire run and replacing that wire connector.
Specific Fixture Check:
Are there specific landscape fixtures out? If you are working with drop-in fixtures it could be as simple as replacing the lamp.
If a wire to the fixture has been cut, you could repair using your wire connector of choice such a silicone-filled wire nut.
Repair and correct the problem and test
Testing is important to ensure the problem has been accurately addressed and there are no additional issues caused by the solution.
What can you do to prepare for future troubleshooting?
Helpful equipment to make troubleshooting a bit easier
A multi-meter helps you test and validate power from the outlet to the system.
A wire locator allows you to easily find the buried wire and minimizes the digging needed to find a cut wire
Cable fault locator helps you locate where buried wire may be cut or disconnected
Troubleshooting tips
Here are a few things to look out for when you’re fixing issues with a system.
First thing to check upon arriving is if the system has power
Look for the obvious and then work your way into the system
Don’t search for blown lamps if there isn’t power to the outlet
When checking the voltage for a drop-in fixture, check it with a lamp in place as you’ll get an incorrect reading if you remove the lamp first
This can be an issue specifically for accent lights because a socket can become burnt out by an overheated lamp which can be caused by a dirty lens
Troubleshooting is an essential and sometimes inevitable part of the job and with the right tools and tips you will be indispensable to your clients. You can avoid many emergency calls by offering annual or bi-annual maintenance contracts to your clients. Find our helpful maintenance checklist here.